You have just clicked on “confirm” and the order has been placed. Have you bought the plant you have wanted for a long time from our nursery, perhaps a beautiful ornamental bush, or a majestically flowering tree? Or one that will guarantee you fresh fruit straight from your garden?
Perfect, it’s a great feeling to be able to get what you want.
Yes, everything is beautiful, but what is this little voice? While the finger celebrates the fateful “click” the brain begins to wonder what the next step will be. Yes, in short, the tree will arrive and we would immediately like to show it off in our garden, but how?

TIMES
It’s important to start this article by talking a little about when is the right time to plant a plant.
We are happy to tell you that, in reality, there is no “right time”. The plants you take from nurseries have an already sufficiently developed root system, which allows them to acclimatise without excessive problems. Of course, in detail, we can only speak with certainty about our nursery and here we can tell you that All the plants you purchase from us are grown in containers, a practice that allows them to be planted throughout the year, with an almost 100% guarantee of rooting.
Naturally, these guidelines are also useful for ornamental or fruit trees and bushes, which you have always kept in pots and now would like to move into the open ground.
In summary, modern floriculture has focused on cultivation in containers to have a greater guarantee of rooting and for the possibility of planting plants all year round. as regards potted trees there are no limits related to the time of year, only it is better to avoid excessively hot days, unless we want to be very careful about watering or days when the ground appears frozen.
WHERE TO PUT THE HOUSING TREE
Can’t decide where to plant your tree? In fact it is not an easy decision, moving it will be very difficult!
To try to help you make this decision, here is a small list of factors to take into consideration:
- light exposure required;
- size of the plant at maturity;
- resistance to any air currents;
- aesthetic context.
HOW DO YOU PLACE A PLANT?
Planting is not a particularly complex operation, but it must be carried out carefully, so as not to make mistakes that could cause problems for the plant itself.
Let’s see how to do it now!
PHASE 1 – PREPARE THE PLANT
- Remove the plant from the pot. To do this, just tap on the pot while holding the plant firmly, being careful not to damage it;
- Break the earth around the roots, helping yourself, if necessary, with a knife (it is sufficient to make lateral incisions with the blade);
- Immerse the clod of earth in the water, this way, while we continue with the operations, she will have time to hydrate.
PHASE 2 – THE HOLE AND THE SOIL
- Check the soil, if it is too heavy, hard or dry, moisten it with water, this will make digging easier;
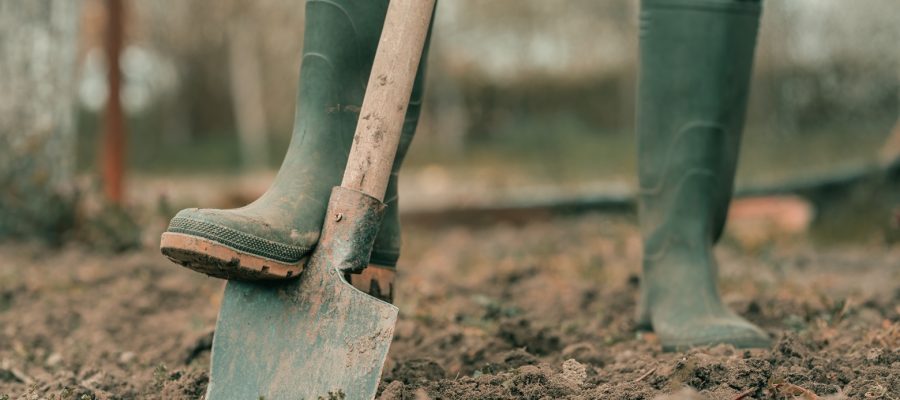
- Dig the hole. To dig it you won’t need anything other than a spade, but pay attention to the dimensions, the hole must be at least double the diameter of the vase. If the ground seems heavy then enlarge the hole further, until it is 3 times larger;
- Especially if the soil is very compact (for example, clayey), dig deeply to loosen the earth: the objective is to allow the roots to easily exit the earth to colonize the surrounding area and expand. It may be useful to dig a little deeper and place a layer of draining material on the bottom (such as gravel, pumice, expanded clay, lapillus, etc.);
- It is possible to lighten the soil by mixing the excavated earth with coarse materials, such as sand, pumice, or with soil, but also other organic materials that are often easily available, such as dry leaves. Pine needles are an excellent natural acidifier of the soil and we can prefer them to other materials if we have to plant acidophilic plants such as azaleas and rhododendrons.
PHASE 3 – PLACING THE PLANT
- If you have some available at the bottom of the hole, you can also put some manure. If it is not mature, however, it will be necessary to interpose it with a layer of earth that separates it from the root system of the stem. Do not underestimate this step because the unripe manure will ferment and this will cause an increase in temperatures which, if in contact, could damage the roots. Instead, by placing the earth in between, a sort of warm bed will be created which will be very useful for the plant;
- We place the clod of earth taken out of the water at the bottom of the hole and identify the collar: it is easy in plants grown in pots, because it is the area that emerges from the surface and connects the root system to the stem;
- Once the work is done the surface of the root ball must be aligned with that of the surrounding soil and the collar must not be buriedthis is to avoid the onset of rot that could kill the plant;
- When you position the plant to see if the hole is deep enough, make sure that it is slightly raised, because the soil will certainly tend to settle;
- Cover the hole by filling the side volumes;
- Once the hole is full, gently tamp in the soil.
STEP 4 – LEVELING THE GROUND
- This point is not mandatory but remains a good practice: create a small curb around the hole to facilitate the administration of water (about 15-20 liters depending on the size of the starting plant);
- We will be able to notice how the sludge created subsides, this means that the soil is settling around the roots, adhering appropriately;
- Add a little more soil, so as to align the ground level of the clod with that of the ground level again;
- “The roots must hear the bells“, said the grandfather, and who would ever dare to question the wisdom of a grandfather? So we always check that the collar is not buried;
PHASE 5 – COMPLETE THE WORK
- Especially in summer and winter it is good practice mulch the work area in order to protect the root system from the winter cold or from water evaporation in summer;
- In some cases it may be necessary to plant a support pole: in these cases the ideal is to position it before planting, after having dug the hole about 20cm from the centre, in this way we will not hinder the laying of the sod;
- As we said when we talked about timing, let’s remember that if we find ourselves in a hot season, there must never be a lack of moisture in the soil: it is a stressful time for the plant and the roots must never suffer from thirst or they will burn;
- Fertilization is not mandatory, but we recommend administering a fertilizer containing potassium to help the roots in this first phase of development. The fertilizer must be distributed uniformly under the projection of the foliage, avoiding making small piles, in the same way exaggerating is not good, as well as not bringing any benefit it could even be harmful to the plant.
That’s it! If you have followed all the steps with some care, your plant will surely immediately feel at home in the new soil. Now all you have to do is admire it growing and becoming even more lush!
latest posts published
Tired of working in the garden? What can be done to reduce maintenance
How to successfully transplant a Christmas tree
Landscaping a new plot: where to start?

What grows in clay: This is what worked on Juste’s farm

Organic seeds: are they worth paying more for?

Preventive spraying of tomatoes with homemade remedies –
Environmental management: how to renovate a bored plot?
Designers answer what are the 3 best plants for the garden
Fruit trees online: how I ordered them and how I planted them