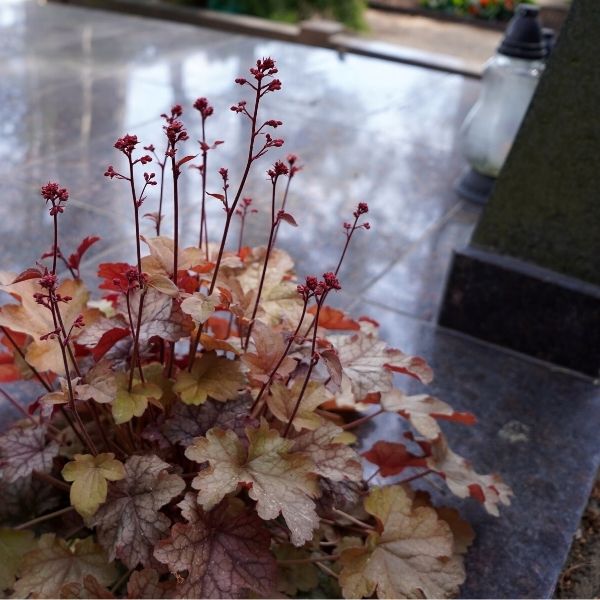
Photographing plants is not that easy, especially during the day when the sun is shining. Due to bright light, some plants in the photos fade and lose the brightness of their colors, in other places dark, deep shadows form. How to “fix” the lighting when photographing plants – we talked about it Remigio Zolub.
If you are the kind of person who notices the beauty of nature and can’t wait to capture it all, the subject of plant photography is just for you. Agree that summer is the time when beauty abounds outdoors: whether in gardens, orchards, flower gardens and parks. So, on a sunny afternoon in June, in the Bernardini garden I caught up with Remigius to share his advice.
Remigijus Zolubas is a photography professional who has taught photographic subjects at the Academy of Fine Arts, presented his work at exhibitions and has now been teaching photography to others for ten years, under his name at photography school. We will also soon present courses on this topic garden photography – you will find out in our newsletters. Well, now let’s move on to the tips.
The amount of plant photography depends on the position of the sun
If during the day strong sunlight falls on the plant you want to photograph from above, shadows form under that plant. Our eye sees a normal image, but the camera is not able to convey such a large contrast difference. In the photo the illuminated area appears whitened, while the shadowed area appears completely black. It may even be a single plant, the underside of which will appear incongruously dark when photographed at midday.
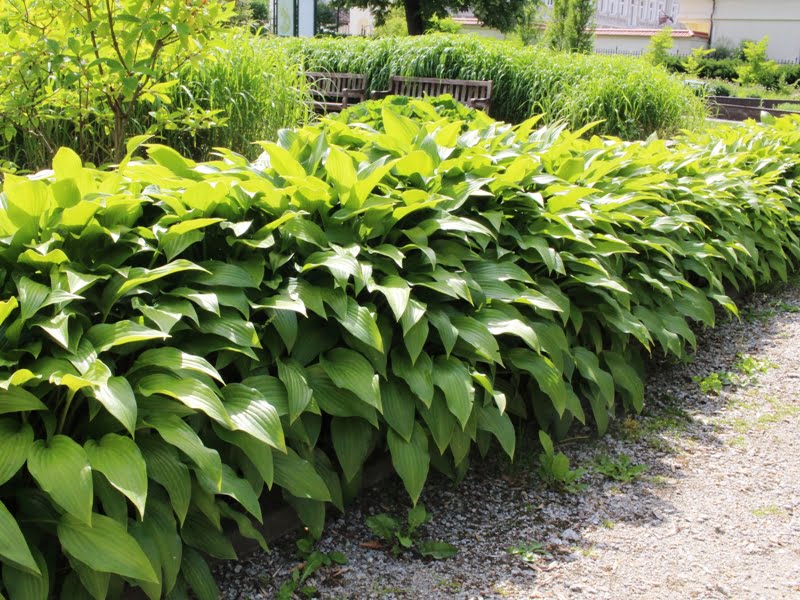
Photographing the same plant in the morning or in the evening, when the sun is not shining from above, but from the side, will have a completely different result. R. Zolubas says that the low sun “draws” beautiful shadows, highlighting the lines of plants, structure, contours of bushes. Therefore, photograph large areas of plants in the morning or evening. For example, to convey the beauty of greenery “Dutch Wave” (about this style, as well as other examples of naturalistic landscape, you can found here).
And even at midday you can photograph individual plants or flowers in bloom, with the help of a few simple tricks.
Spotlight: Shooting multiple plants
Our goal is to lighten the shadows so that there is less contrast in the photo and so that the colors come out better. In this case, a reflector can come to the rescue, which is used to reflect the light, that is, to change the direction of the light. Then, with its help, we direct the rays to the shadows and reduce the difference between the shadow side and the light side. This is useful when photographing more than one plant.
You can buy one in all photographic equipment stores, and the price varies around 30-40 euros, depending on the size. The advantage of the reflector is that it does not take up much space, it folds easily, so you can conveniently carry it where you need it.
Aluminum foil – for a ring
Individual plants, especially blooming flowers, can also be photographed during the day, even if you don’t have a special reflector. To help you, use the simplest shiny aluminum foil, which you can probably find in your kitchen. It works on the same principle as a reflector, i.e. it reflects light. Before use R. Zolub recommends crumpling the film and straightening it again so that the surface does not resemble a shiny mirror: then the reflected light will be soft. Place a sheet of film under the ring you want to photograph: the dark shadow is gone and the colors look beautiful from all sides.
This method is really convenient, because the film can be cut as much as necessary, if necessary you can join several pieces together. If it’s a sunny but windy day, you can wrap it around a plywood board and temporarily secure it while you take photos.
Expanded polystyrene panels
It would seem that photographing plants and polystyrene panels have nothing to do with each other. Although they are mainly used to insulate walls, they can also be used to look great in photos. Such panels are also popular in the film industry, they are used during filming or photo shoots. Styrofoam panels do not reflect light like a mirror or reflector, but a large white surface reflects light only due to its whiteness (just like snow or a wall painted white). So if you have this good thing, you can place the plate in such a way that their whiteness illuminates the plants in the dark shade.
Their disadvantage is that, although the panels are not heavy, they do not fold, which makes it inconvenient to carry or carry in the car.
Reflector and bag
Here is another simple trick, which, as R. Zolubas jokingly says, is suitable when we want to “make up” a flower or liven it up. Spotlighting is a great solution if the plant is dark green or the colors seem dull. Also, using this tool, you can highlight the most important plant in the photo on a dark background.
So, if the plant lacks color intensity, take a simple spotlight and shine it on the part of the plant where the lighting is most needed. You just need to make sure that the shadow is not too deep, because then you will have to shine on the side of the shadow to even out the contrast.
Depending on the ambient lighting we can also use spotlights of different intensities. Do several photographic tests and if you see that the light from the spotlight is too strong, put it in an opaque white plastic bag, which will attenuate that light (example in the video reportage).
When using additional lighting, remember that in photography, direct light brings out the color of an object, while side light brings out its shape. Just as you use water to brighten up a plant, its color and shape can be brightened up in a photo with the help of light.
latest posts published
Tired of working in the garden? What can be done to reduce maintenance
How to successfully transplant a Christmas tree
Landscaping a new plot: where to start?
What grows in clay: This is what worked on Juste’s farm

Organic seeds: are they worth paying more for?

Preventive spraying of tomatoes with homemade remedies –
Environmental management: how to renovate a bored plot?
Designers answer what are the 3 best plants for the garden
Fruit trees online: how I ordered them and how I planted them