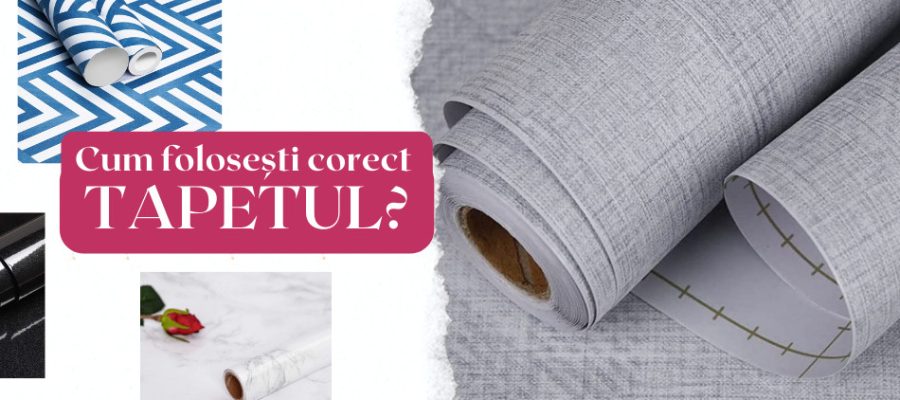
How to Apply Self-Adhesive Wallpaper to a Wall: Measure the length and height of the wall and purchase enough self-adhesive wallpaper to cover the entire wall.
Accurately measuring the length and height of the wall is crucial to determining the required amount of self-adhesive wallpaper. A simple method is to multiply the length and height of the wall to get the total area, then add 10% extra.
You can find a wide variety of self-adhesive wallpapers on our website. Simply choose the one you like.
{% display_products limit = “4” columns = “4” type=”search” search_string=”tapet+autoadeziv+hode” %}
2. Remove all items from the wall, such as decorations, furniture, curtains, or drapes.
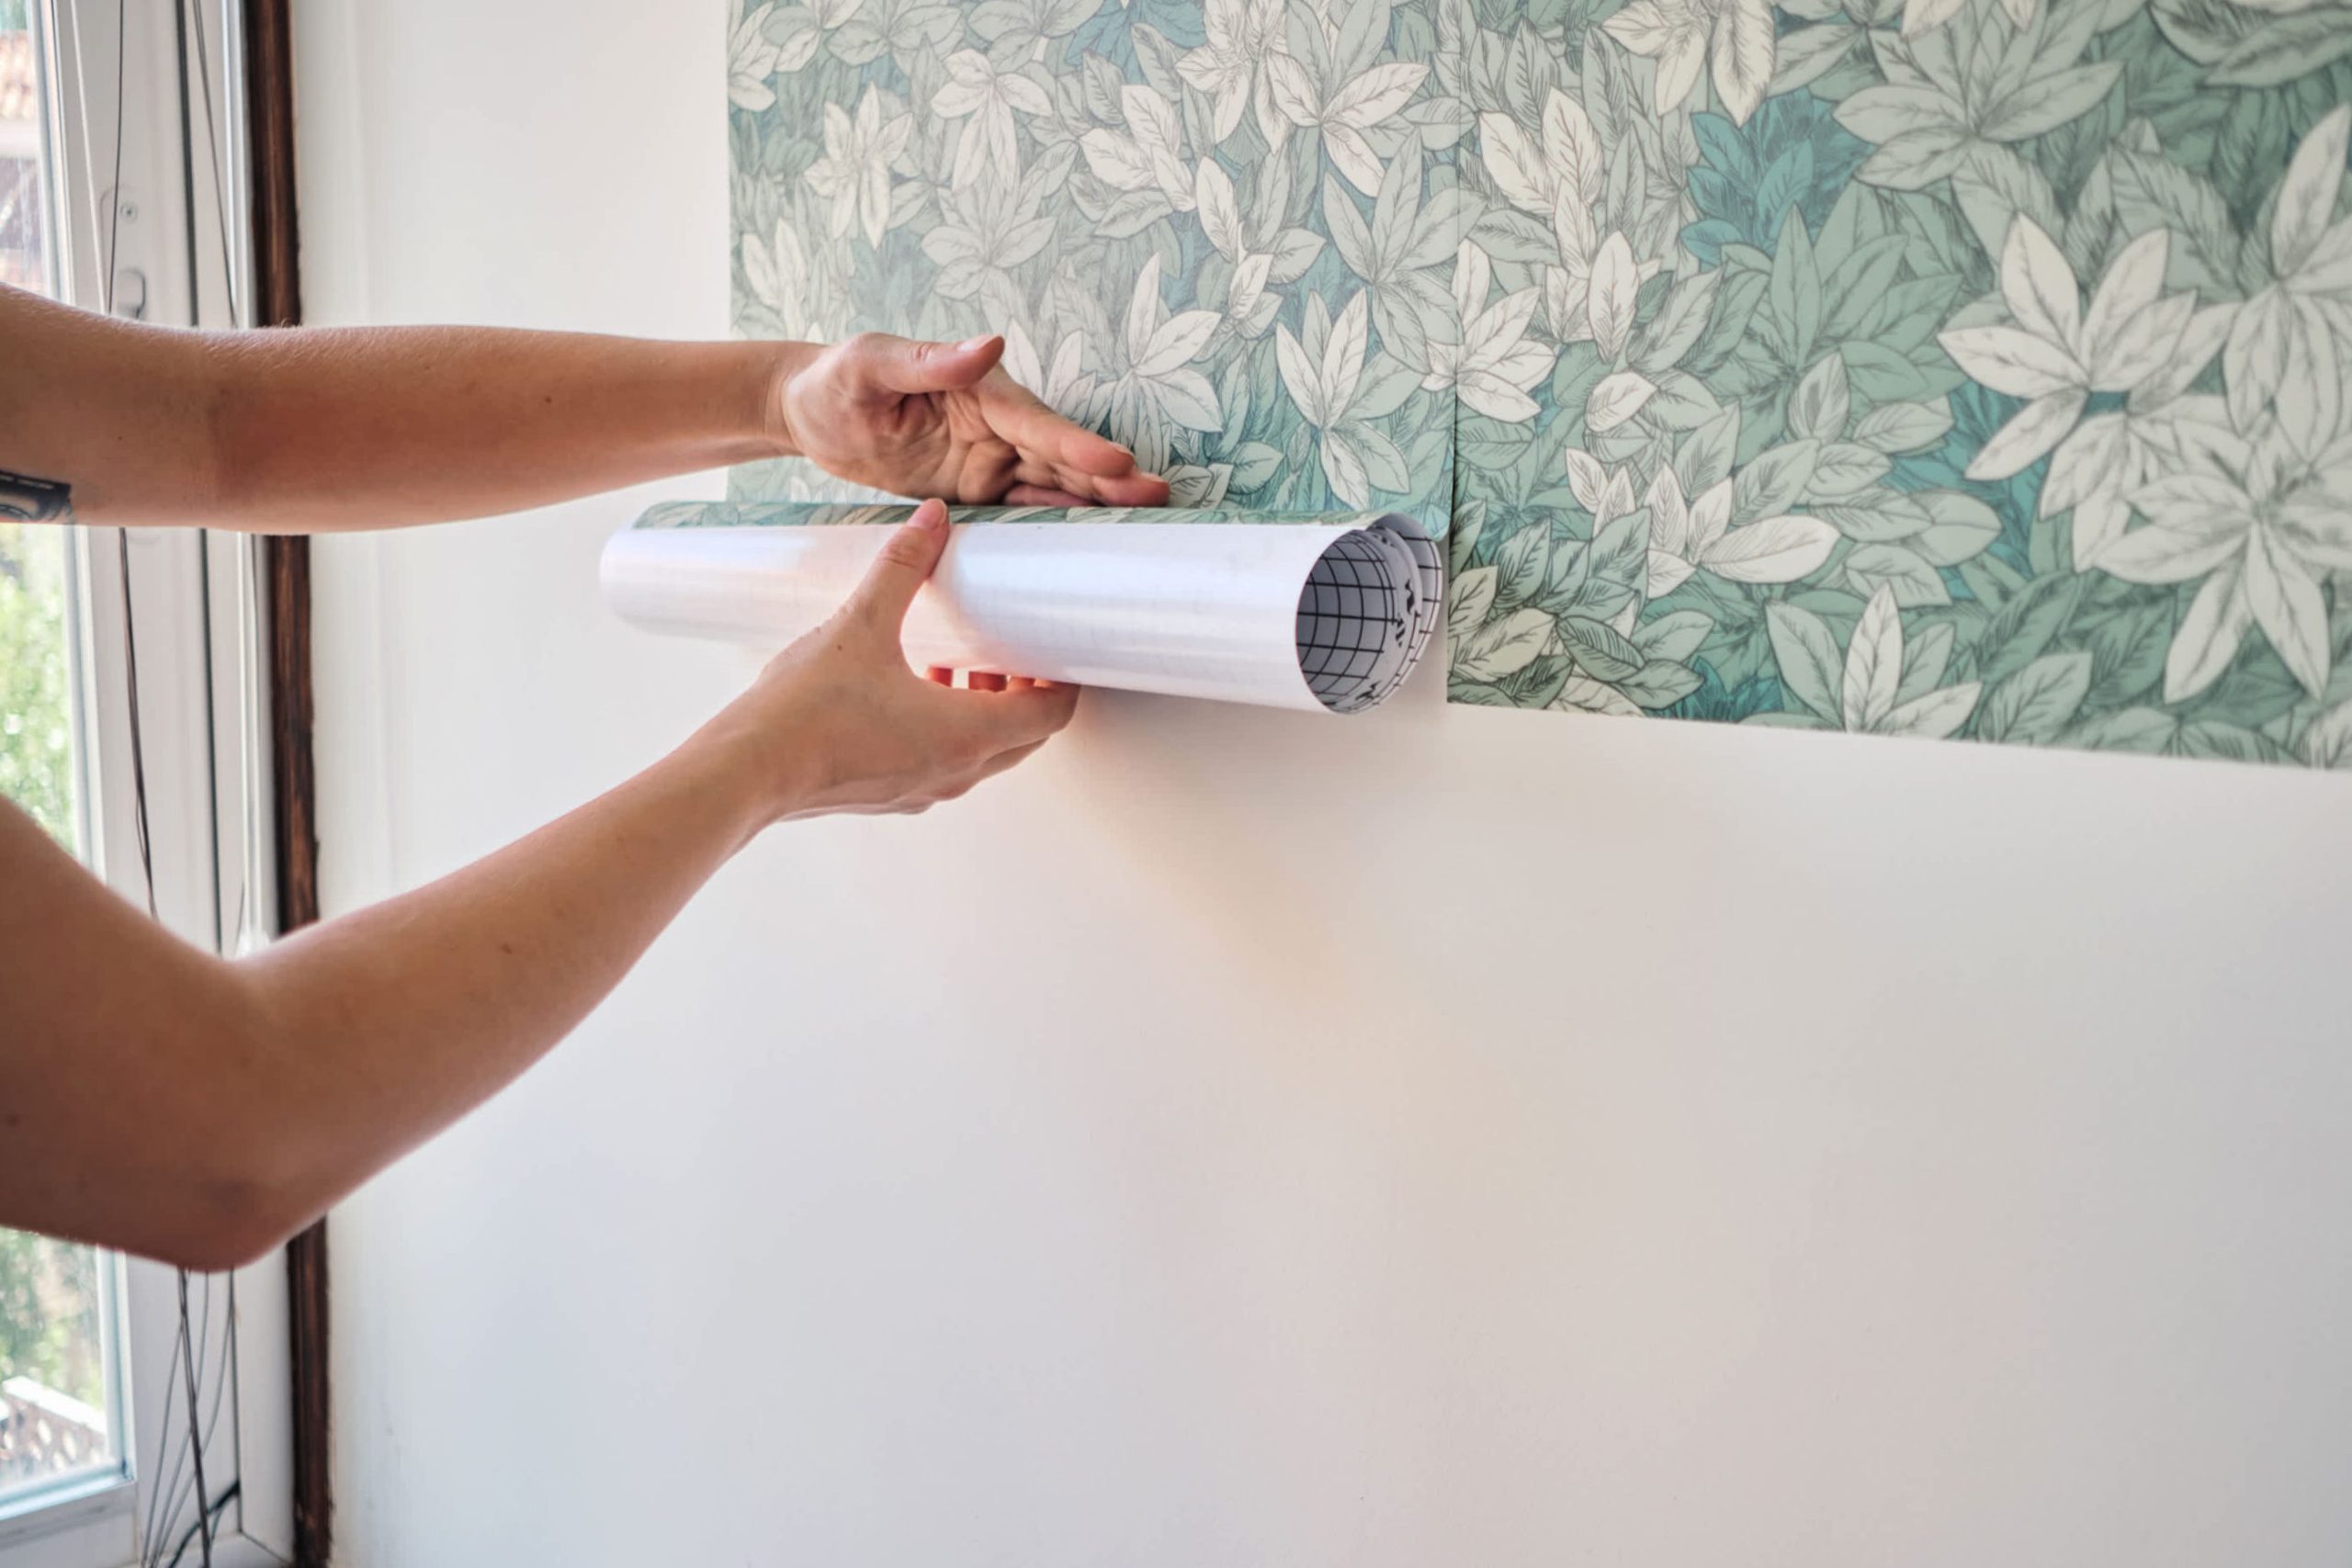
These items can affect the wallpaper’s adhesion and cause inaccurate application. Furthermore, the wall surface must be smooth and flat to achieve a uniform and professional final result when applying wallpaper. If any items need to remain on the wall, they should be temporarily removed to prevent damage during the wallpapering process.
3. Clean the wall surface with warm water and a detergent solution.
Cleaning the wall surface is a crucial step in applying self-adhesive wallpaper. Before applying wallpaper, ensure the wall is clean and dry for a firm adherence.
- Here’s how to clean the wall before applying wallpaper:
- Mix warm water and dish soap in a container.
- Dip a clean cloth in the cleaning solution and wring it out.
- Use the damp cloth to clean the wall in a circular motion. Make sure to clean the entire wall surface.
- After cleaning, dry the wall with a clean towel to remove excess moisture.
- It is essential to ensure the wall is completely dry before applying wallpaper.
The wall must be completely dry before applying wallpaper; this is crucial because moisture will affect the wallpaper’s adhesion and may lead to mold growth or long-term damage.
4. Cutting the Wallpaper
Once the wall is clean and dry, you can prepare the self-adhesive wallpaper. Here are the steps for cutting the wallpaper:
Measure the wall dimensions to determine the required wallpaper size. Leave a few centimeters of allowance on each side to ensure the wallpaper covers the entire wall. Depending on the wall dimensions and the size of the wallpaper roll, you may need several pieces of wallpaper. Measure the dimensions of each wallpaper piece and cut it using a utility knife or a sharp blade. Leave an overlap of about 5 cm at the edges. This overlap ensures good adhesion and allows for adjustments as needed. After applying the wallpaper, trim off any excess.
If your wallpaper is patterned, ensure the cut pieces are aligned for a uniform finish.
If necessary, you can mark the wallpaper pieces with a pencil for better alignment during application.
Cutting the wallpaper to the appropriate size and leaving a small overlap at the edges makes the application process easier and more efficient. Also, ensure the cut wallpaper size matches the size and shape of the wall.
5. Carefully apply the wallpaper. Ensure the wallpaper is applied straight and correctly.
Once the wallpaper is cut to the appropriate size, you can begin applying it. Here’s how:
Remove the protective film from the self-adhesive wallpaper paste. This protective film may be a thin film or a backing paper on the wallpaper paste.
Start from the corner and carefully apply the wallpaper. Ensure the wallpaper is applied straight and correctly, avoiding wrinkles and air bubbles.
While applying the wallpaper to the wall, gradually peel off the protective film on the adhesive side. Gently press the wallpaper to ensure it adheres firmly.
Use a ruler or scraper to smooth the wallpaper, removing air bubbles and wrinkles.
Apply self-adhesive wallpaper strips, leaving a small gap between each strip. Ensure the edges of the wallpaper are tightly adhered for a smooth surface.
When applying wallpaper, always ensure it is straight and evenly spaced, as mistakes are difficult to correct later.
Applying wallpaper isn’t difficult, but it does require some care. Follow these steps, and you’ll find it a pleasant experience. Click here to see more wallpaper designs. Browse our wallpapers!
latest posts published

Tired of working in the garden? What can be done to reduce maintenance
How to successfully transplant a Christmas tree
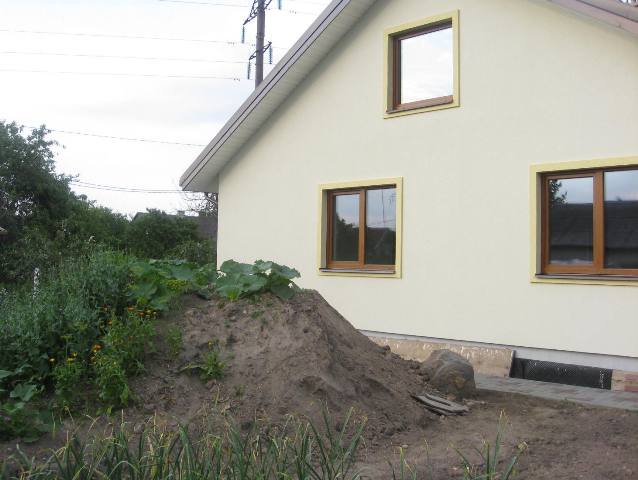
Landscaping a new plot: where to start?

What grows in clay: This is what worked on Juste’s farm

Organic seeds: are they worth paying more for?
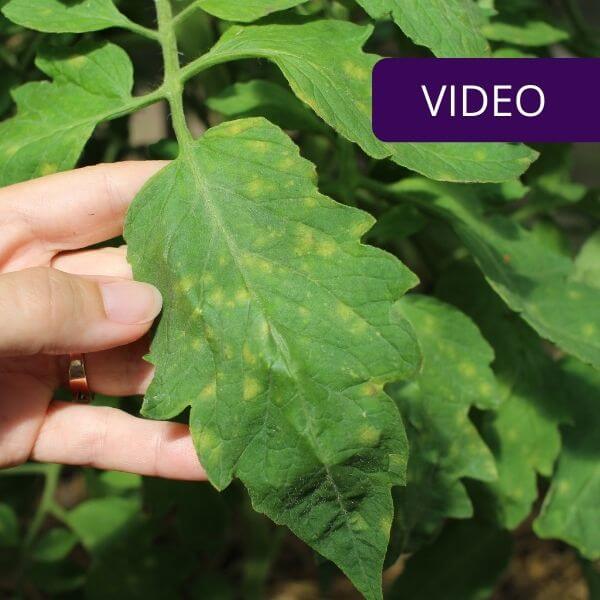
Preventive spraying of tomatoes with homemade remedies –
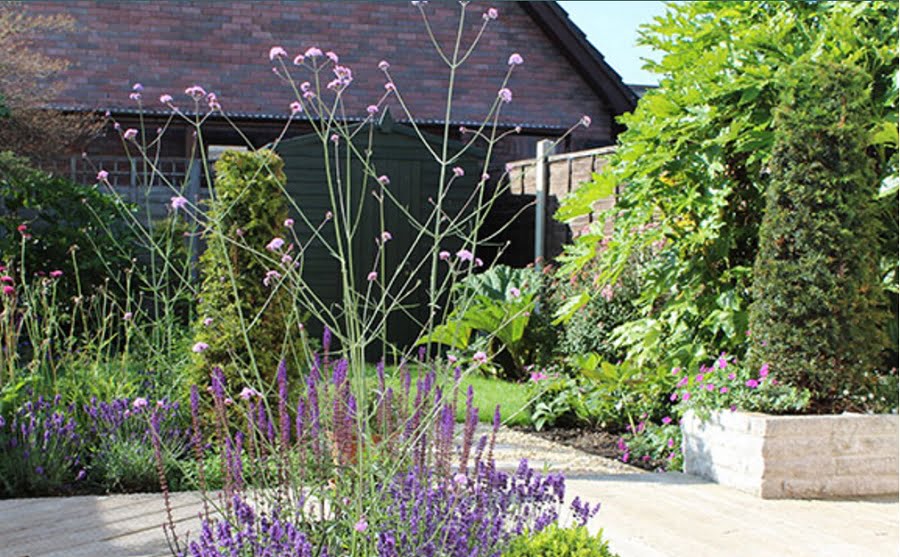
Environmental management: how to renovate a bored plot?
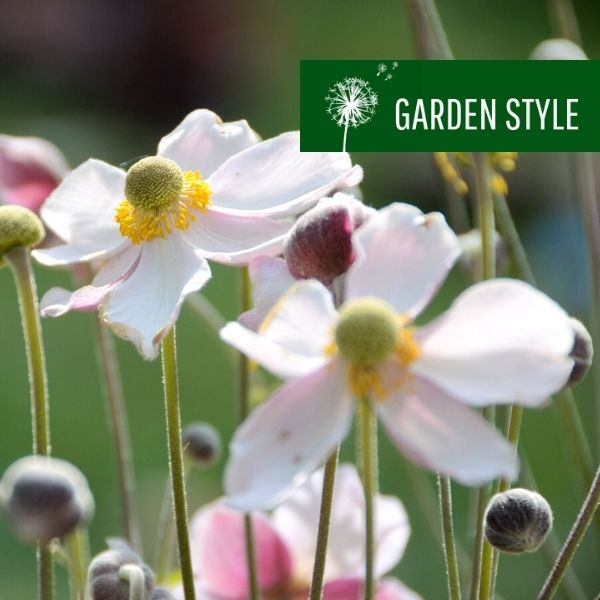
Designers answer what are the 3 best plants for the garden
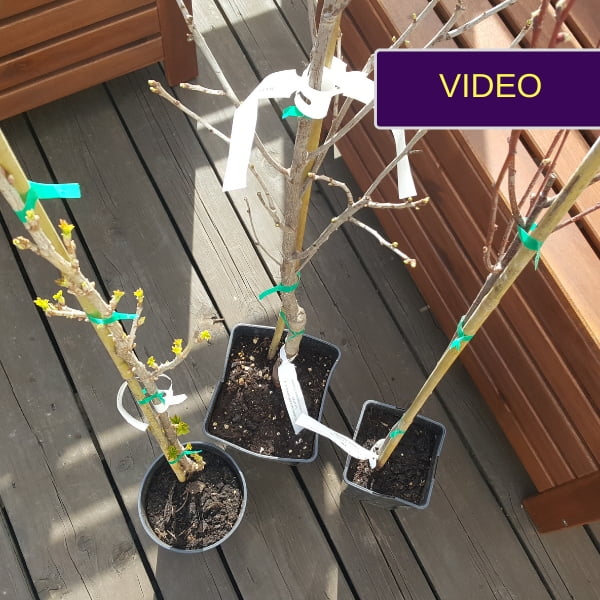
Fruit trees online: how I ordered them and how I planted them