
Is it really possible to apply a coating on wallpaper?
Understand feasibility and limitations
Covering wallpaper with wallpaper may seem like a quick fix. However, its success depends above all on the state of the wall covering. Dry, unlaminated and firmly glued wallpaper can provide an acceptable base after preparation. Conversely, a damaged, blistered or damp surface risks compromising the performance of the coating. In this case it is better to remove it completely. This preliminary step avoids cracks, bubbles and premature detachments. A good visual and tactile diagnosis is therefore essential before deciding on direct application.
When is it better to remove wallpaper
Removal is recommended if the covering is vinyl or washable, as these smooth surfaces offer no grip. Wallpaper stained by humidity or attacked by mold should also be removed. Finally, if the underlying wall already has significant defects, simple grouting will not be sufficient to correct these irregularities. Complete removal, followed by sanding and stripping the support, therefore guarantees better durability of the finish.
Comparison table: direct cladding and wallpaper removal
| Situation | Coat directly | Remove the background |
|---|---|---|
| Wallpaper well glued, without bubbles | ✅ Yes, after careful preparation | ❌Not necessary |
| The wallpaper was peeling in some places | ⚠️ Possible but risk of chipping | ✅ Recommended |
| Vinyl or washable wallpaper | ❌ Terrible hook | ✅ Required |
| Presence of mold or stains | ❌ Risk of degradation | ✅ Required |
| Damaged wall surface under the paper | ⚠️ Imperfect result | ✅Preferable |
Prepare the support before coating
Check the adhesion and condition of the wallpaper
Carefully inspect the entire wall. Press lightly with your hand to feel for any looseness. If some areas move, re-glue them with a suitable glue. This step ensures that the support does not move under the action of the coating. In case of doubts about the stability of the card it is better to opt for its removal. A healthy and fixed support is essential for the success of the operation.
Cleaning, degreasing and dusting are essential
Once you have checked adhesion, dust carefully using a dry cloth or soft brush. Then use a sponge lightly moistened with a mild detergent to remove grease and dirt. Avoid wetting the wallpaper. Light sanding with fine grit will create additional grip. The application of an undercoat is highly recommended to improve the adhesion between paper and coating.
Choosing the right type of wallpaper covering
Smoothing coating, decorative coating or acrylic coating
THE’smoothing coating remains the reference for preparing a wall before painting it. Its fine texture allows you to obtain a perfectly smooth surface. THE’acrylic coating it is appreciated for its drying speed and its good adhesion. As for thedecorative coveringgives relief but requires impeccable support. The choice will therefore depend on your final goal.
Selection criteria based on surface and end use
For a wall intended to be painted, choose an acrylic or smoothing coating. If you are planning a new wallpaper installation, a simple smoothing will suffice. Also take into account the type of room: in humid environments, opt for a moisture-resistant product. Always check the compatibility indicated on the product packaging before use.
Steps to apply coating on wallpaper
First layer: thin and even application
Use a putty knife or large spatula. Apply a first thin layer in crossed passes to uniform the surface. Don’t try to cover everything at this stage: the goal is to create a regular basis that will make the second application easier.
Sanding, second coat and preparation for finishing
After the first pass is completely dry, sand lightly with a fine abrasive. Dust carefully before applying the second, more covering layer. The latter will hide the last defects and prepare the surface for the chosen finish. Respect the drying times indicated by the manufacturer.
Common mistakes to avoid when applying
Coat too thick or poorly laid
A coating applied in too thick a layer will crack as it dries and be difficult to sand. Always work in thin layers to ensure a good hold and an aesthetic result. Multiply the steps if necessary.
Poor support preparation and consequences
Neglecting preparation risks seeing all the work deteriorate rapidly. A poorly cleaned or unstable surface causes blistering and delamination. Investing time in this step avoids having to start all over again.
Finishes and maintenance after painting
Painting or decoration after complete drying
Once the covering is completely dry (often between 24 and 48 hours), apply acrylic paint or hang new wallpaper. A primer is recommended to standardize absorption and optimize the final result.
Tips for prolonging hold and aesthetics
Protect the surface from impacts and clean it with a soft cloth. Inside, regular dusting is sufficient to preserve the appearance of the finish. Avoid using abrasive products that could oxidize or damage the surface.
latest posts published

Painting wooden skirting boards: simple and effective steps
Home: how to reduce energy consumption?
Remove wallpaper from the panel without damaging the wall
Can we leave a concrete block wall unclad? Complete guide

Lost Attic Insulation: Reduce Your Heating Bill
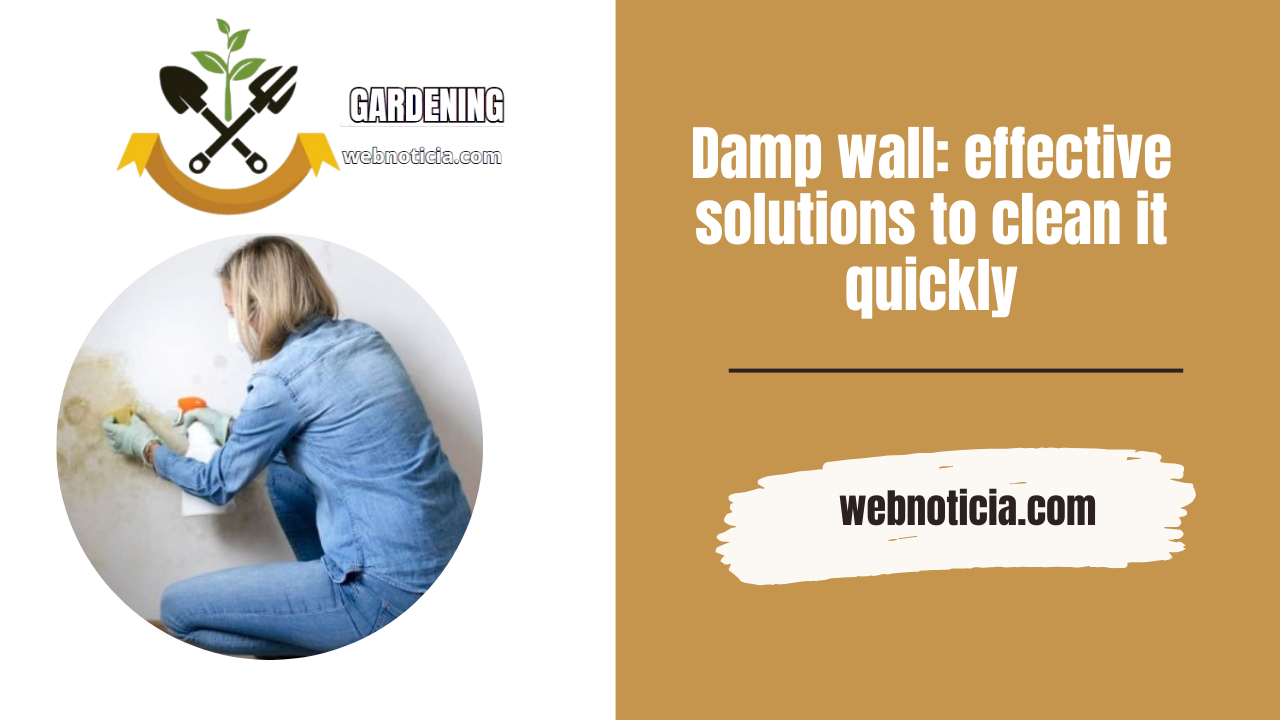
Damp wall: effective solutions to clean it quickly

30 ideas for furnishing the dining room buffet with style
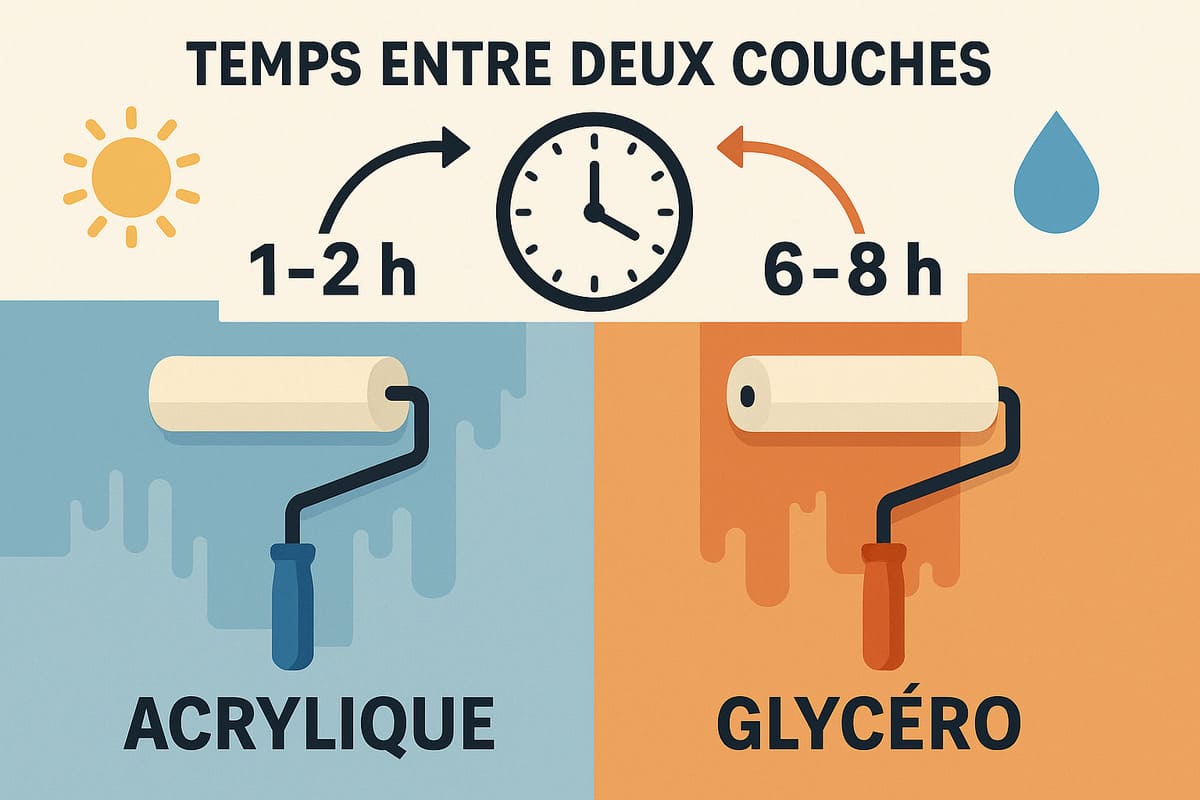
👉 Painting: how long between two coats?
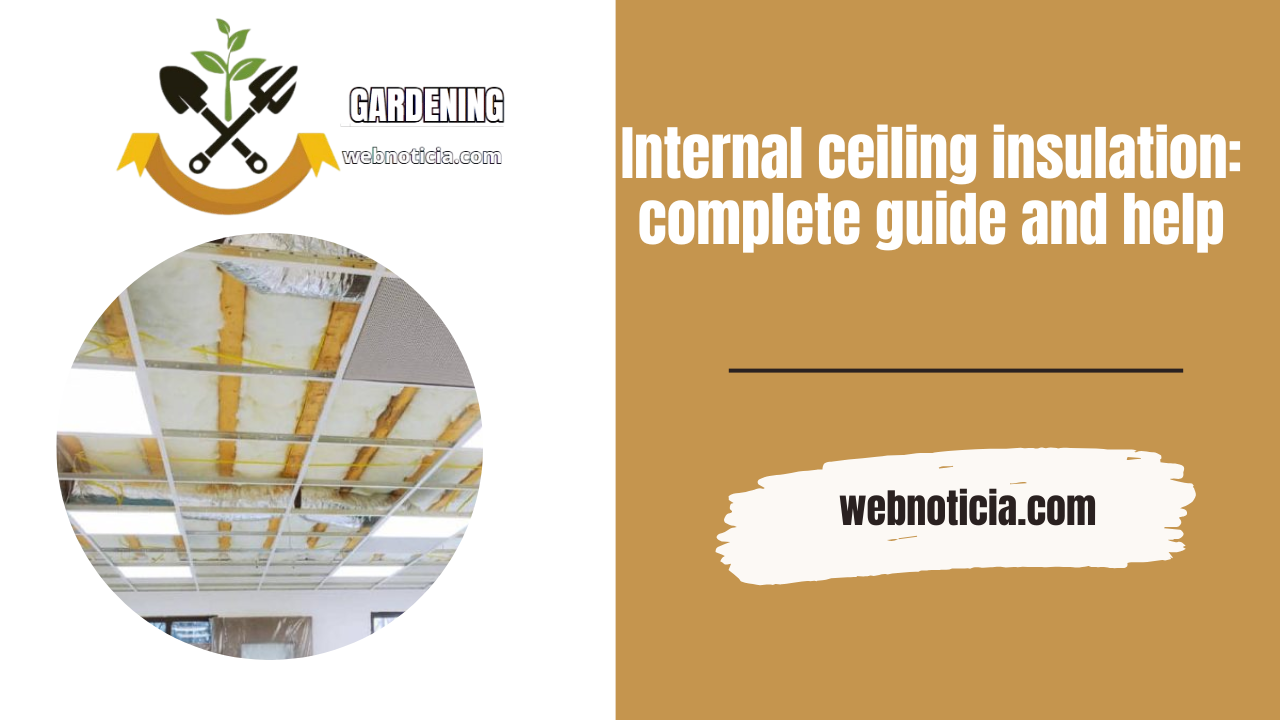
Internal ceiling insulation: complete guide and help
